Importing data with CSV files
A guide on how to collect, format, and send your data to Cable using CSV files
Introduction
Cable is the leader in automated financial crime assurance. We automatically monitor your financial crime controls to identify regulatory breaches, control failures, and any risks that could indicate your controls are not effective.
For Cable to be able to conduct ongoing monitoring of your financial crime controls, we need to receive regular data updates from you. You can either do this programmatically via our API, or by uploading CSV files directly through our web app. It may be easier for you to get started by providing us with manual CSV uploads.
This guide goes through several important topics:
- How to format your CSV file, provide good data to Cable via CSV, and avoid common pitfalls
- Commonly asked questions when uploading data
- Step-by-step tutorial on how to upload files to Cable via the web app
Before you begin this guide, you should be familiar with CSV files, some of their common pitfalls with strings, and the separators they use for the values. However, most programs (e.g. Excel) should be able to quickly export data into the CSV format.
The quickest route to a well-formatted CSV is to use our templates.
Formatting your CSV file and data
It is important to understand the format of the CSV file to avoid upload and configuration issues. Additionally, at the end of this section, you will find CSV templates that you can use to structure your data according to its type.
- Add a single row at the top of your spreadsheet that will act as the headers (or label) for each column
- Use a comma delimiter in your CSV, not a semi-colon (if you have that option)
- Use unicode (UTF-8) in your CSV
- Opening CSVs in different programs can change the encoding
Doing so can add unwanted formatting, and saving that file will result in corrupted data - Special characters need to be correctly escaped
The values:- Text with
,→ Nationality GBR,PT - Text with
"→ Risk rate "1.79”
"Nationality GBR,PT""Risk rate ""1.79"""
- Text with
Format your data
Review your data and make sure that the formatting is consistent before importing. This can be much more painful to correct after the import.
Our best practices for formatting your data are as follows:
- Name the CSV file according to its data and make the content similar to each API Endpoint, so it is easier for Cable to process it
- Avoid nested fields in your columns
Try not to have JSON inside a single cell, as flattening it makes it easier to work with even if you have more columns
- Define how you format null or empty values
Format these values in a consistent way so that they are easy to parse - Review values that should fall into categories
Make sure the values correspond to what you expect when you export data from the source system- For example: If you have a list of 3-letter country codes, make sure there are no differences:
GBR,gbr,Gbr, etc
- For example: If you have a list of 3-letter country codes, make sure there are no differences:
What does a good CSV look like?
The information in this section will use practical examples to explain why you need to prepare your data, and how you should do it. These examples will focus on companies and account_statuses data, but can be generalised to any other data point that Cable collects. This section covers Reference IDs and timestamps, which are both essential elements for correct processing of your CSV data.
You can look at the Account Status API Endpoint documentation to better understand the data that is being used.
Reference IDs in the CSV
When uploading multiple files, where each file has a different type of data, it is important to be able to link records across these files. For example, we want to know how many account_status changes a company has been through.
Each CSV file should contain a column with the id you use internally to identify the entity (user, company, etc.). It is important that this id is consistent across multiple files, so we can link records.
For example, if you are uploading the companies and the account_statuses mentioned above, a row in each file might look like:
Companies
| id | company_name | timestamp |
|---|---|---|
| abbc23 | my test company | 2022-03-02T15:34:56 |
Account Status
| related_company_id | company_status | timestamp |
|---|---|---|
| abbc23 | Active | 2022-03-04T20:12:03 |
Notice how the account status row has a related_company_id that is the same as the row in the companies part of the table.
Timestamps in the CSV
Below is an example with randomised data for a business customer. Notice that each datapoint is given its own column and named to align with parameters of the Account Status API endpoint.
Each row in the Account Status table below has a single timestamp. The important things to remember about timestamps are:
- The timestamp must correspond to when the information in the row occurred or became available, e.g. when the account status changes happened
- If there are several timestamps relating to the data - e.g. if a company changes account status multiple times - then these must be in separate rows
- See the two events below with
id = 9andid = 11— in this case theaccount_statusof the object changed fromin reviewtoactive.
- See the two events below with
- It is acceptable to have some of the columns null if no information was provided at that time
| id | timestamp | parent_id | parent_type | account_status |
|---|---|---|---|---|
| 2 | January 28, 2020 8:37 AM | 4e3f2711-86ba-409d-830e-73cb300b45cf | company | exited |
| 3 | February 6, 2020 9:00 AM | c891ea45-df26-483a-85be-f4e6f572128e | company | closed |
| 4 | April 27, 2020 5:22 AM (GMT) | e0065354-a430-4db5-8e05-bc4e2e775886 | company | exited |
| 5 | July 1, 2020 1:00 PM (GMT) | dab8a593-c6a5-47fa-a14b-75fd77848bab | company | active |
| 6 | July 7, 2020 1:54 AM (GMT) | 6e901ba7-24b0-4d5c-a4c6-0d9da08a3c5c | company | exited |
| 7 | July 22, 2020 4:23 AM (GMT) | 8ece3751-7e05-474a-a6bf-e2222c9234a1 | company | disabled |
| 8 | July 27, 2020 8:00 AM (GMT) | 713b617f-3e12-4170-82d5-5cdb4775a2d5 | company | active |
| 9 | September 7, 2020 3:36 AM (GMT) | 1e2b366f-36e0-4b78-9d91-9ea93a92ac96 | company | in review |
| 10 | September 9, 2020 2:57 PM (GMT) | 287723d0-4df5-4553-a6f7-755cbfacc8ca | company | open |
| 11 | September 11, 2020 5:40 AM (GMT) | 1e2b366f-36e0-4b78-9d91-9ea93a92ac96 | company | active |
Differences between the first upload and the following ones
When you first upload data to Cable via CSV, we conduct a process to understand and map out your data to our internal system. We need to work with you during this process to ensure that we are correctly going through your data.
Once this mapping is done, we run your data through our analytics engine and derive alerts from it. Subsequently, if you don’t make any changes to your data format, we can process your files faster in the following uploads.
The first data upload should follow the standards agreed during the data onboarding process.
With the following uploads:
- Stick to the agreed cadence
- Keep the same format as the initial upload
- Send new events that have happened since the last upload
CSV Templates
The following file templates contain the CSV headers that match our endpoints, and are a useful guide to get started on preparing which data you need to send to us.
- account_statuses.csv
- companies.csv
- idv_info.csv
- onboarding_flows.csv
- people.csv
- pep_checks.csv
- risk_assessment.csv
- sanctions.csv
Commonly asked questions
How can I delete a file I mistakenly uploaded?
If you import the same file twice, or import the wrong file, please let us know so that we can fix the situation.
However, if you are uploading files that have duplicate rows or uploading data in two files that have overlapping periods, that is not a problem.
We can deal with duplicated data that comes from any overlap at the beginning/end of each period.
Are there any possibilities of overwriting data?
No, each file is stored individually so we keep track of all the data sent to us. If there are any issues, reach out to us, and we can help you with your queries.
Steps to import a CSV via the Dashboard
-
Go to https://dash.cable.tech , and click Upload, on the left side of the main Dashboard.
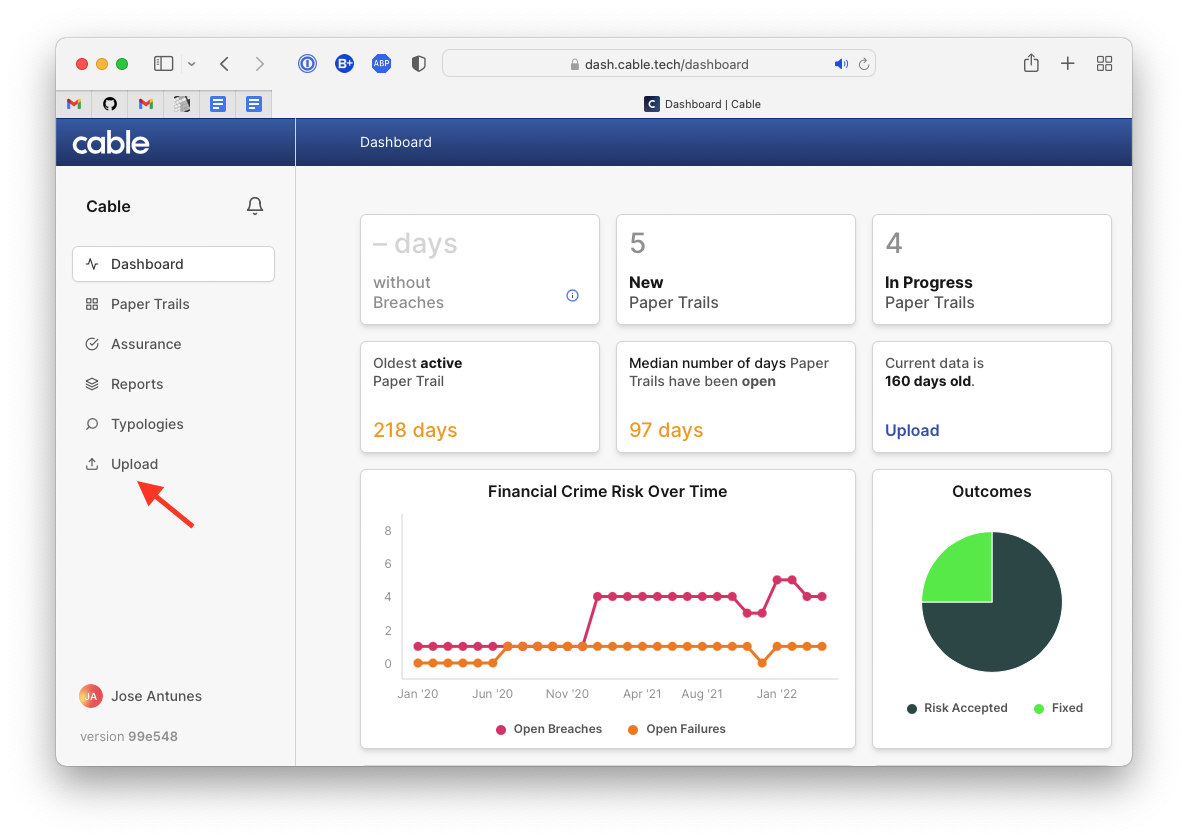 Upload navigation item
 -
Click the Select a file button and a dialog will pop up, asking you to select a CSV file.
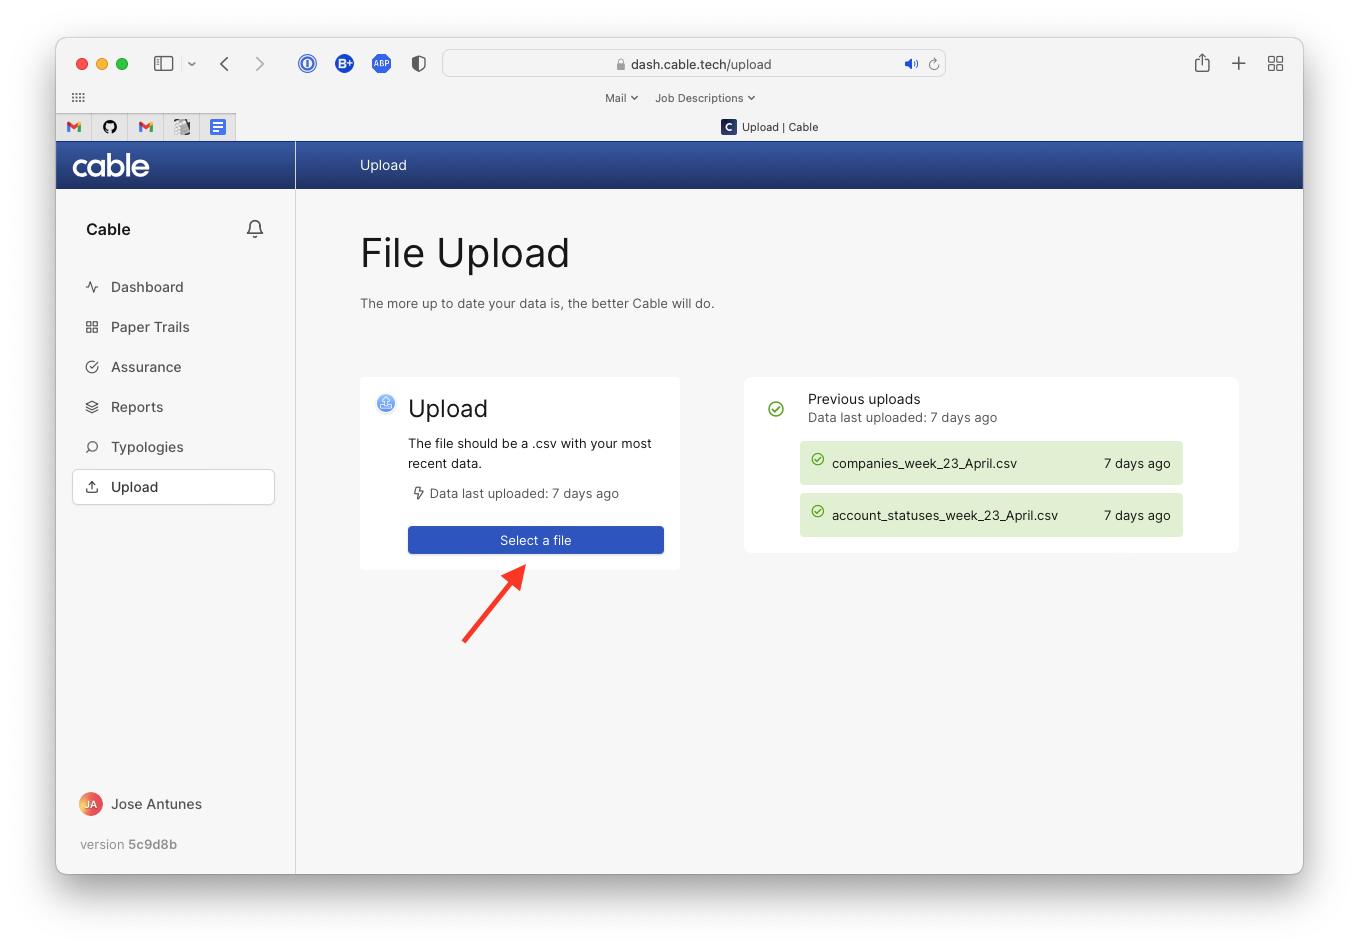 Select a file
 -
The dialog that pops up depends on your system (Windows, MacOS, Ubuntu, etc..), and browser (Chrome, Firefox, Safari, etc..). Below is an example for Safari on MacOS.
Select the relevant CSV file, and confirm the upload.
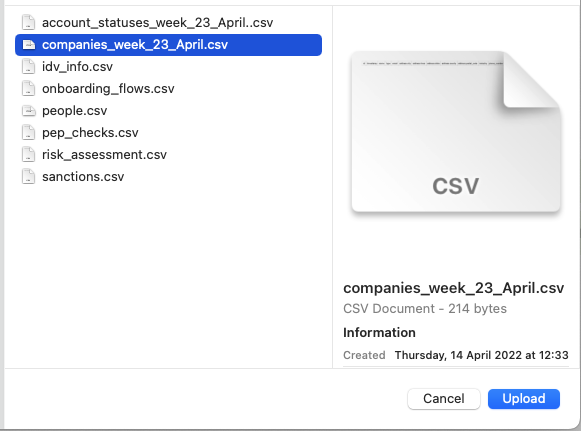 Example in MacOS using Safari
As soon as you click to confirm the file, the data will be sent to Cable. Ensure that you have the right file selected! Files need to be sent one at a time.
It is good to name the files according to the data being uploaded. Examples of good filenames are:
companies_week_23_April.csvaccount_statuses_week_23_April.csv
-
Once the Upload is complete, you should see a green box on the right hand side of the Upload page with your filename highlighted in green. See the following example:
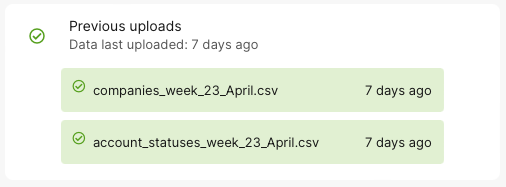 Successful upload of CSV files